Library
The Library in Praisenter is where you store and manage all of your presentation assets - including Bibles, slides, song lyrics, images, and videos. Each workspace manages a single library of assets.
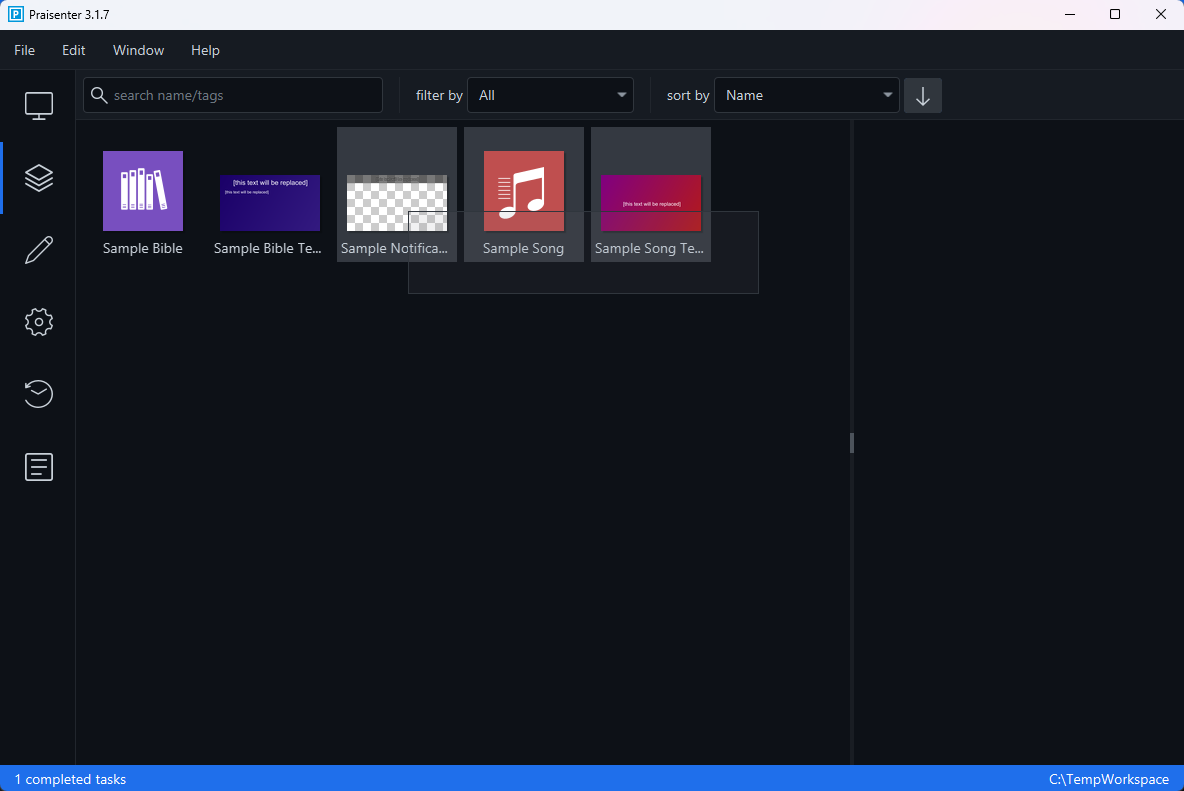
You access the library by clicking on the stacked squares icon in the left navigation. The library allows you to import, create, update, delete, organize your assets. You can also export, preview, tag, and rename your assets from here.
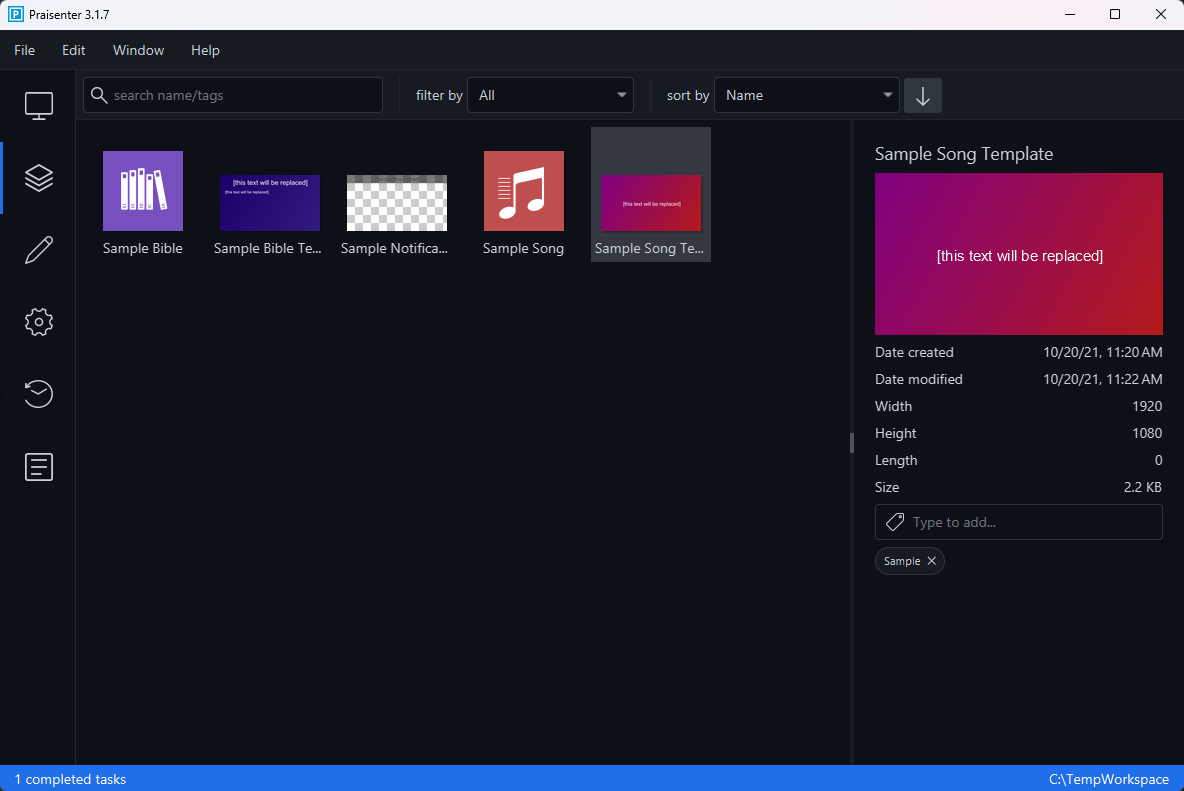
In the example below, we have a library with five assets: three slide templates, one bible, and one song lyrics. The assets shown below are the default assets imported when creating a new workspace. The sample assests are there to help you get going quickly and to learn from.
Searching, filtering, & sorting#
As you continue to collect assets, finding a specific asset can become challenging. Use the library toolbar to search, filter, & sort your assets to find exactly what you are looking for.

- The
search name/tagsbox allows you to search the name of assets and their tags. - The
filter bydropdown allows you to filter by the type of asset. - The
sort bydropdown allows you to sort assets by name, type, etc.
Finally, the arrow at the end allows you to control the sort order.
Selecting an asset#
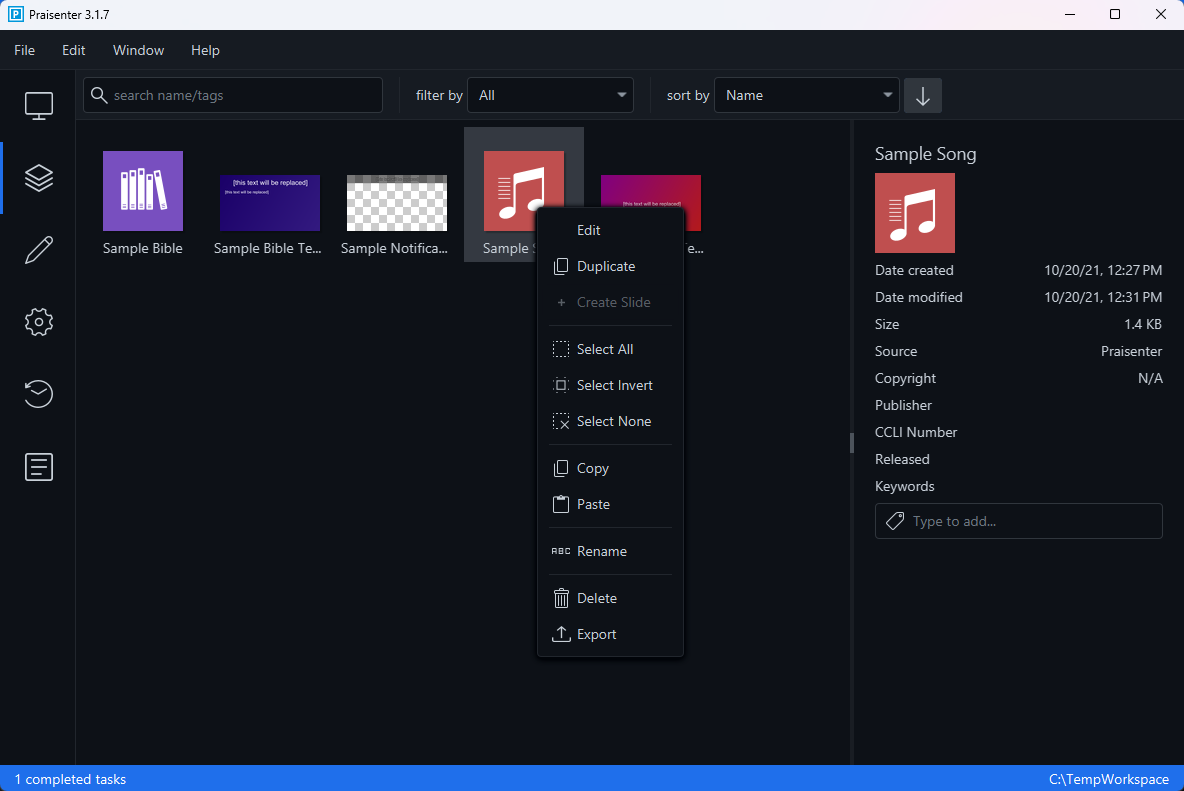
You can select assets using the left mouse button. Once an asset is selected you can perform a few actions using the File, Edit, and context menus:
Edit(only available on the context menu) will open the asset in the editor.Duplicatewill create an identical copy of the selected asset, but with different name and id. You cannot duplicate media assets.Deletewill delete the selected asset (permanently).Copywill copy the asset to the clipboard.Renamewill allow you to rename the asset.Exportwill prompt you to export the asset to a zip file.
Asset preview#
When selecting an asset, a preview is shown on the right side of the library. The preview will be different based on the asset type. For some, you can only see basic information, while others may have additional options. All assets will show the following details:
- The asset name
- The date created / modified
- Ability to add/remove tags
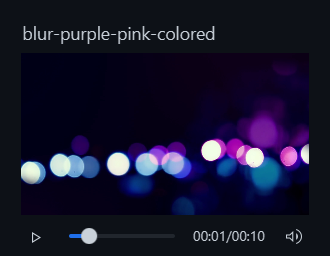
NOTE: Some asset types like video have the ability to play them. Be careful when previewing assets with audio. Make sure your computer audio is muted, the asset is muted in the player, or the audio out from the computer is muted.
Selecting multiple assets#
You can select multiple assets using the mouse and keyboard. Once an asset is selected, you can hold down Shift while using the left mouse button to select multiple assets in order. Similarly, hold down the Ctrl / Command key to select any set of assets with the left mouse button. Finally, use the ← and → keys while holding Shift to select multiple assets in a row with the keyboard only.
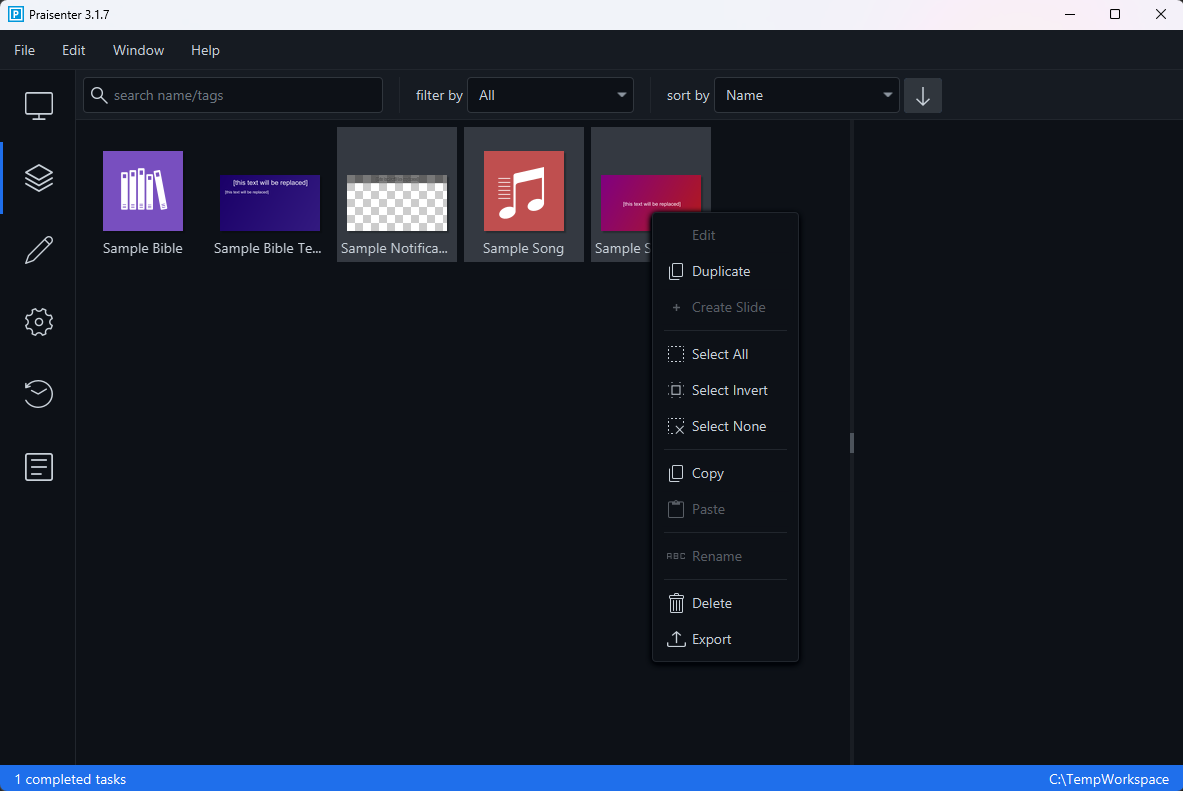
When multiple assets are selected you can perform some of the same actions listed in the Selecting an item section from File, Edit, and context menus:
Duplicatewill create an identical copy of the selected assets, but with different names (and ids). However, you cannot duplicate media assets.Deletewill delete the selected assets (permanently).Copywill copy the assets to the clipboard.Exportwill prompt you to export the assets to a zip file.
The last way to select multiple assets is to use the mouse and click + drag a rectangle over the assets you want selected.
Duplicate / copy#
After selecting an asset or selecting multiple assets you can duplicate or copy & paste them.
The Duplicate command immediately creates a copy of the asset and adds it to the library. The duplicate will be renamed with a Copy of... prefix.
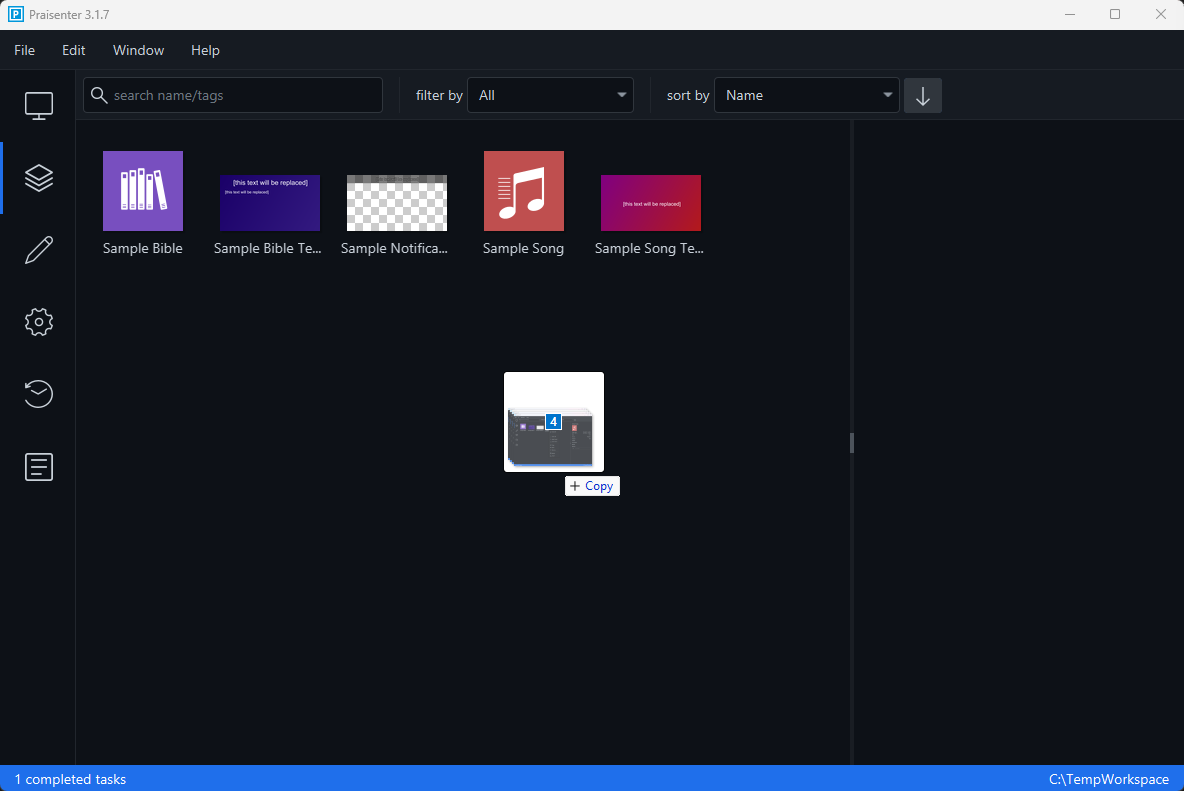
The Copy command copies the assets to the clipboard so you can Paste them elsewhere. What happens when you paste will depend on where you perform the paste command:
- If you paste into a text document, the names of the assets will be pasted.
- If you paste into File Explorer, the files themselves will be pasted.
- If you paste into Praisenter, the assets will be duplicated in the same way as the
Duplicatecommand. - If you selected one image/picture and you paste into a program that accepts image/picture content, the image/picture will be pasted
Rename / Delete#
After selecting an asset or selecting multiple assets you can rename or delete them.
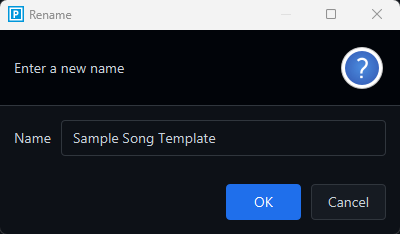
The Rename command is only available when a single asset is selected. When clicked you will be prompted to supply the new name for the asset. Renaming an asset is a safe operation - any other asset like slides will continue to reference the renamed asset. This also applies to any selected Bibles and song lyrics in the display controller.
NOTE: You can also rename the asset in the editor if it’s a Bible, song lyrics, or a slide.
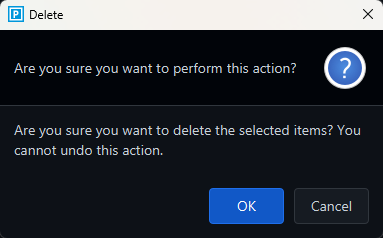
The Delete command will delete the selected assets permanently. An “Are you sure?” notification is displayed first to confirm if you’d like to continue. You will also see a confirmation message if the asset is used by another asset in the library (slides in particular). If you choose to continue, the assets are deleted. There is no way to recover deleted assets from the library, but you can always re-import them if you have the originals stored elsewhere. Any assets like slides that reference the deleted assets will continue to work, but will not be able to show that asset when presented.
Create Slide#
Have you ever been tasked with quickly presenting a picture, image, or video? Praisenter requires the asset to be placed on a slide before it can be presented. Select the asset and use the + Create Slide context menu command to create a slide with the media on it, save it, and then present it - just three steps.
This feature performs the following steps:
- Creates a new slide sized for your primary screen/output.
- Sets the slide name to “Untitled the asset name”.
- Sets the slide background to black.
- Adds a Media Component to the slide with the selected asset.
- Sizes the media component to cover the entire slide.
- Configures the media component to keep the aspect ratio of the asset

Importing assets#
Importing assets is easy - just drag the file you want imported onto the Praisenter window. In face, you can select multiple files and drag them onto the Praisenter window to import multiple assets at once! Praisenter can also import .zip files containing any combination of supported files.
If you are running Praisenter full screen and don’t want to drag-and-drop, you can use the File -> Import menu.
NOTE: What happens to the original files after import? Nothing! The original files are left unchanged and in the place you found them. This is because Praisenter copies the files to the workspace. You are free to move, delete, rename, or do anything with those original files.
NOTE: Make sure to wait for the import to complete before moving, renaming, deleting, and/or updating the original files. This is especially important for video and audio files.
Supported import formats#
Praisenter supports a large number of formats. For Bibles and song lyrics, don’t worry if you don’t see the format you need - there are bulk edit options that can be used as an alternative to importing.
NOTE: Looking for an import format that’s not currently provided? Log an issue on the project page.
Bibles
- Praisenter format
- Unbound Bibles
- Zefenia Bibles
- OpenSong Bibles
Song lyrics
- Praisenter format
- OpenLyrics
- ChordPro (as of 3.1.7)
- SongSelect (as of 3.1.7)
- ChurchView
- Older versions of Praisenter
Slides
- Praisenter format
Images & pictures
- PNG
- JPG / JPEG
- BMP / WBMP
- TIFF
- WEBP
- GIF
Audio / video
Praisenter supports a huge number of audio & video container formats and codecs by transcoding them during import into a single optimized format. Praisenter does this by packaging a static build of the FFmpeg library. Praisenter places the binary in the media/tools folder inside the workspace and communicates with it using shell commands.
You can determine all the formats supported for demuxing / muxing by using the following command. Demuxers read audio / video data from a file and muxers write audio / video data to a file and are crucial to transcoding process.
1
ffmpeg -codecs
Exporting assets#
The primary function of export is to transfer assets from one computer to another. The idea is that you have Praisenter installed on many computers. Having Praisenter on multiple computers allows you to build and collect assets on one and import them on another.
The export feature can also be used to convert assets to another format or to gain access to the raw asset itself. Song lyrics is a good example - having a song in ChordPro or OpenLyrics formats allows you to transfer that asset to another application. Another example is if you want access to a video you imported into the library and can’t find the original anywhere.
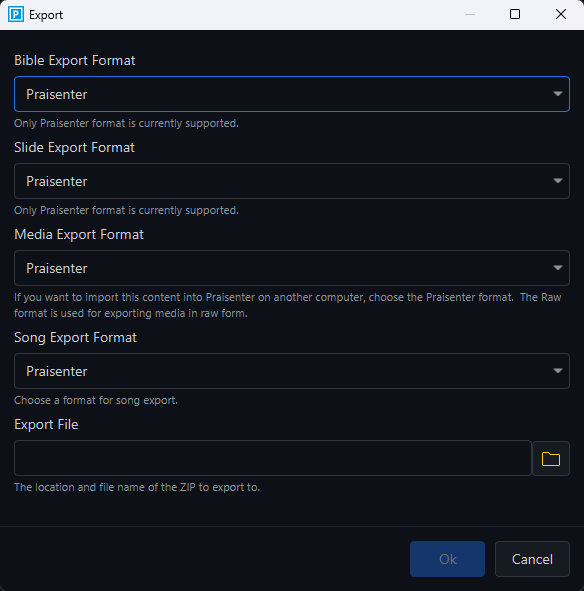
To export, select the assets you want to export, then use the File -> Export or context menu Export commands. Before being able to complete the export, you must choose the export format for each asset type. By default, the Praisenter format is chosen.
Finally, choose the export file name and location.
NOTE: What happens to the assets in the library after they are exported? Nothing. The assets are left as-is. The exported file(s) are copies of the assets in the workspace - you can rename, delete, move, etc. the file(s) contained within the
.zipwithout impacting the assets in the workspace.
Supported export formats#
Praisenter supports a few different export formats in addition to it’s native format.
NOTE: Looking for an export format that’s not currently provided? Log an issue on the project page.
Bibles
- Praisenter format
Song lyrics
- OpenLyrics (as of 3.1.7)
- ChordPro (as of 3.1.7)
- Praisenter format
Slides
- Praisenter format
Images, pictures, audio, & video
- Praisenter format
- Raw format
The Praisenter format is optimized for import into another Praisenter workspace. Always choose this format when transferring assets between two Praisenter workspaces to ensure they are transferred properly. Using a different format could cause assets to duplicate when imported.
The Raw format is used to export the raw file(s) from the workspace. You can use this format if you are looking to get access to the raw file(s) or if you don’t mind assets being duplicated during import into another Praisenter workspace.
Indexing / Reindexing#
Praisenter uses Lucene to index everything added to the library. Indexing is used to perform extremely fast searching on the content and tags of an asset. This is especially true for Bibles due to their length and song lyrics due to the number of songs you may add to the library.
Another key benefit of indexing is fuzzy matching content in Bible verses or song lyrics. This is a very powerful feature when you don’t know the exact phrase, words, or spelling to use.
Praisenter maintains the index in the background every time new assets are added, updated or deleted. There’s also a command to reindex all content under the File -> Reindex menu. In general, using this command is unnecessary, but in some cases it can be beneficial to perform a reindex. Reindexing will delete the current index and reindex all assets from scratch. If the library contains hundreds of assets or many songs or Bibles, this could have a minor performance benefit.