Slide components
Slides are made up of the slide itself and it’s slide components. Adding components to your slides is how you add media, text, and other content.
Now that you’ve reviewed the basics, we’ll introduce each slide component available in Praisenter. Then we’ll cover how to move, resize, and layer them.
Text component#
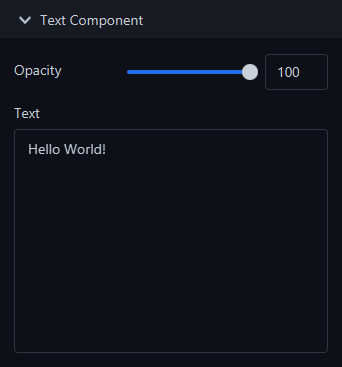
The text component is used to put unchanging text on a slide. You have all the options described in Slide basics to configure the font, color, borders, backgrounds and more.
To edit the text itself, use the Side Pane on the right side of the editor.
Placeholder component#
The placeholder component is very similar to the text component - it’s used to show text. However, it’s unique because the text is not directly editable. Instead, the text that will show in the component will be determined during presentation. It’s a placeholder for text.
A placeholder component is used to display Bible verses, song lyrics, and notifications. More on this in the presentation part of the manual. If a slide has one or more placeholder components, then it’s considered a slide template and can be selected during Bible, song, and notification presentation.
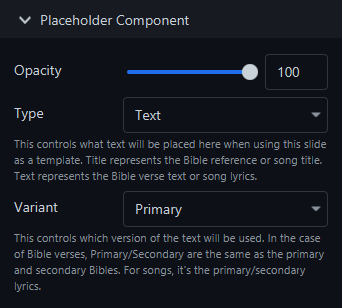
The placeholder component has two configuration options: the Type and the Variant.
The Type is either Title or Text. This corresponds to the reference and text of a Bible verse or the verse name and text of a song. For example, when presenting Genesis 1:1, the Title will be “Genesis 1:1” and the Text will be “In the beginning God created the heaven and the earth.” Similarly, when presenting Verse 1 of the song Amazing Grace, the Title will be “Verse 1” and the Text will be “Amazing grace how sweet the sound That saved a wretch like me I once was lost but now am found Was blind but now I see.”
The Variant is one of six values. At this time, Praisenter only uses Primary and Secondary. This option represents whether to use the primary or secondary language/translation. For example, if you want to show the text of Genesis 1:1 from your primary bible, then you would choose Primary. If you want to show the text of Genesis 1:1 from your secondary bible, then you would choose Secondary.
Adding multiple placeholder components to a single slide allows you to build a slide that can show multiple languages at one time. In the example below, there are three placeholder components, one on the top, one the left, and one on the right.
- The one on the top is configured with
Type=TitleandVariant=Primaryso that it shows the Bible verse reference from the primary bible (KJV in this case). - The one on the left is configured with
Type=TextandVariant=Primaryso that it shows the Bible verse text from the primary bible (KJV in this case). - The one on the right is configured with
Type=TextandVariant=Secondaryso that it shows the Bible verse text from the secondary bible (one in arabic).

Date/time component#
The date/time component is a special text component - it displays the current date and time. You can configure all the properties just like a normal text component, but you cannot modify the text.
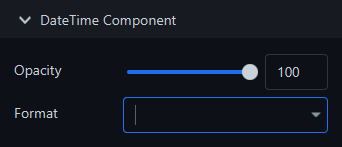
Instead of specifying the text, you configure the date-time format. The date-time format controls what parts of the date/time to display and how to display them. Praisenter has a list of default formats you can choose from, but you can type in your own format. Here’s what each format would look like for the time 2025-11-08 11:40:25 AM EST:
| Format | Output |
|---|---|
| EEEE MMMM, d yyyy | Saturday November, 8 2025 |
| EEEE MMMM, d yyyy h:mm a | Saturday November, 8 2025 11:40 AM |
| EEEE MMMM, d yyyy h:mm a z | Saturday November, 8 2025 11:40 AM EST |
| EEE MMM, d yyyy | Sat Nov, 8 2025 |
| EEE MMM, d yyyy h:mm a | Sat Nov, 8 2025 11:40 AM |
| EEE MMM, d yyyy h:mm a z | Sat Nov, 8 2025 11:40 AM EST |
| M/d/yyyy | 11/8/2025 |
| M/d/yyyy h:mm a | 11/8/2025 11:40 AM |
| M/d/yyyy h:mm a z | 11/8/2025 11:40 AM EST |
When typing in your own format, you have the following options available:
| Option | Description | Output |
|---|---|---|
| G | Era | AD |
| yy | 2-digit year | 25 |
| yyyy | 4-digit year | 2025 |
| M | 2-digit month | 11 |
| MM | 2-digit month (zero padded) | 25 |
| MMM | Abbreviated month name | Nov |
| MMMM | Month name | November |
| d | 2-digit day | 8 |
| dd | 2-digit day (zero padded) | 08 |
| EEE | Abbreviated day name | Sat |
| EEEE | Day name | Saturday |
| a | AM/PM | AM |
| H | 2-digit hour (0-23) | 11 |
| HH | 2-digit hour (0-23, zero padded) (0-23) | 11 |
| h | 2-digit hour (1-12) | 11 |
| hh | 2-digit hour (1-12, zero padded) | 11 |
| m | 2-digit minute | 8 |
| mm | 2-digit minute (zero padded) | 08 |
| s | 2-digit second | 5 |
| ss | 2-digit second (zero padded) | 05 |
| z | Timezone | EST |
| zzzz | Timezone | Eastern Standard Time |
| XXX | Timezone offset from UTC | 5:00 |
| ‘any text’ | Use single quotes ' to add text |
any text |
| ’’ | Use two single quotes '' to output a ' |
’ |
Here are a few examples of custom formats for the date/time 2025-11-08 11:40:25 AM EST:
| Format | Output |
|---|---|
| EEEE MMMM d, yyyy hh:mm a | Saturday November 8, 11:40 AM |
| hh:mm a | 11:40 AM |
| ‘Current Time:’ hh:mm a | Current Time: 11:40 AM |
| ‘It’’s’ EEEE ‘folks!’ | It’s Saturday folks! |
| hh MMMM:mm yyyy EEEE | 11 November:40 2025 Saturday |
Countdown component#
The countdown component is a lot like the date/time component, but where the date/time component always shows the current date/time, the countdown component counts down to a specific, relative date/time, or for a specified duration.
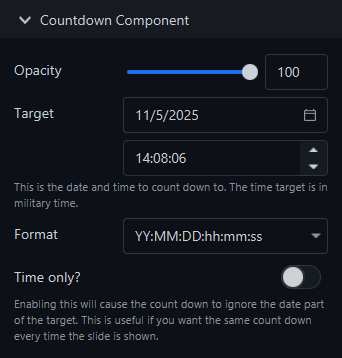
The countdown component has two modes of operation, target date/time or duration. In target date/time mode, the countdown will show the time remaining from now until the given target date and time. In duration mode, the countdown will start counting down as soon as the slide is presented and will stop after the given duration has ellapsed.
In target date/time mode, a target date and time is required. This is great for upcoming events on a specific date. Just enter the date of the event (you can set the time to 00:00:00 to stop the countdown on the day of the event) and whenever the slide is displayed, the component will show the time remaining until that date. No need to adjust the coundown, restart it, or anything - it does it automatically! By default, the countdown halts when it reaches the target date/time. You can turn this behavior off using the Stop at zero setting. If Stop at zero is disabled, the countdown will continue and will show negative values to indicate the target date/time has already passed.
Another common use for a countdown is for a recurring event, like the beginning of a weekly service. To configure the countdown component for this purpose, toggle on the Time only setting and set the target time (the target date will be ignored). Now the countdown component will countdown to the same time every time you show the slide.
Finally, you might have a need to countdown a specific amount of time - like a five minute timer from now. Unlike target date/time mode, duration mode only requires an amount of time to countdown. The countdown will start as soon as the slide is shown.
NOTE: In duration mode, the countdown will restart if you present the slide again.
NOTE: Duration mode only supports durations in the hours, minutes, and seconds range. If you want to countdown days, use the target date/time mode.
Like the date/time component, you can format the output of the countdown component with one of the present formats or with your own. For example, imagine it’s 2025-11-08 12:34 PM and you are counting down to 2025-11-14 4:00 PM:
| Format | Output |
|---|---|
| YY:MM:DD:hh:mm:ss | 00:00:06:03:37:53 |
| MM:DD:hh:mm:ss | 00:06:03:37:53 |
| DD:hh:mm:ss | 06:03:37:53 |
| hh:mm:ss | 03:37:53 |
| mm:ss | 37:53 |
| ss | 53 |
You can also type in your own format. Here are all the available options:
| Option | Description | Output |
|---|---|---|
| Y | 2-digit years | 25 |
| YY | 2-digit years (zero padded) | 25 |
| M | 2-digit months | 11 |
| MM | 2-digit months (zero padded) | 25 |
| D | 2-digit days | 8 |
| DD | 2-digit days (zero padded) | 08 |
| h | 2-digit hours (1-12) | 11 |
| hh | 2-digit hours (1-12, zero padded) | 11 |
| m | 2-digit minutes | 8 |
| mm | 2-digit minutes (zero padded) | 08 |
| s | 2-digit seconds | 5 |
| ss | 2-digit seconds (zero padded) | 05 |
NOTE: Custom text is not supported in the countdown formats. Only the options listed above are supported.
Media component#
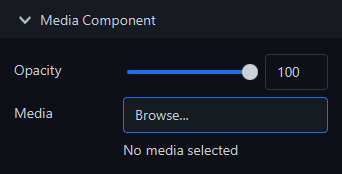
Media components are used to place pictures, images, video and audio onto a slide.
NOTE: The only way to add audio media to a slide is by using a Media component. Other media types can be added as backgrounds on all components and slides.
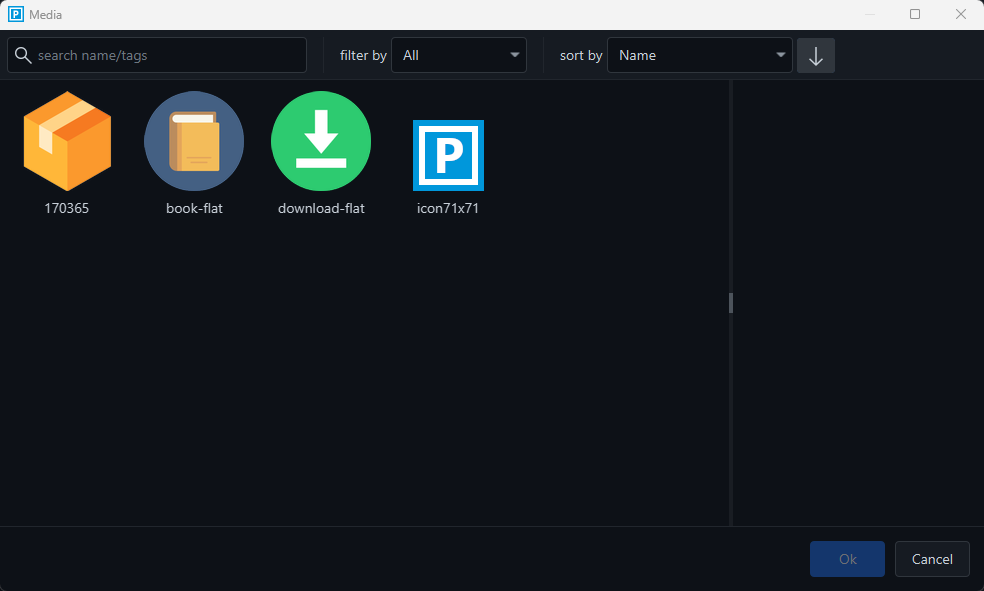
When you click the Browse... button, a filtered view of the library is displayed. From here you can select a media asset. If you haven’t imported the media, you can import it here by drag-and-dropping it from File Explorer.
After selecting a media asset, the name of the selected asset is shown under the Browse... button.
Another way to add a media component is to drag-n-drop a file from your computer onto the slide. Praisenter will import that file, then create a media component for it.
NOTE: When you drag-n-drop a file to import assets, it could take some time before the media component shows up on the slide. Praisenter has to process and optimize some files (like video and audio) to ensure they can be played correctly.
As described in Slide basics - Media, depending on the type of media you add, you can adjust things like scaling, if audio should be muted, color adjustment, and more.
Moving components#
To move a component around, hover the mouse over the component you want to move and wait for the mouse cursor to change to the move icon. Then, click and hold the mouse button while moving the mouse. Release the mouse button when you are finished moving the component.
You can also use the arrow keys ←, →, ↑, and ↓ to move the selected component.
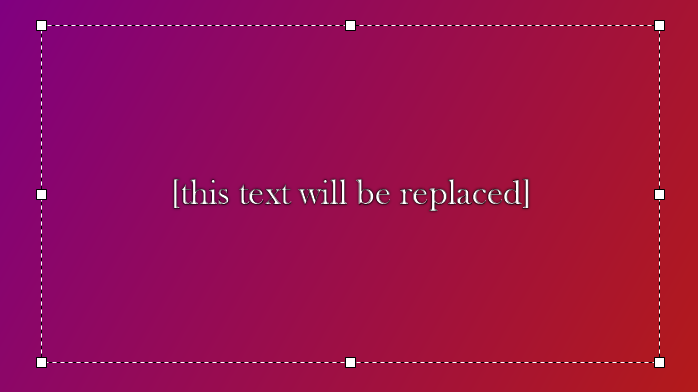
Sizing components#
When you have a component selected, small white blocks appear in the corners and mid-points of the component. Those white blocks are the sizing control points. As you hover over a sizing control, the cursor will change to indicate what type of sizing operation it performs. To resize, click and hold the mouse button on a control point while moving the mouse. Release the mouse button when you are finished.
Snap to grid#
When moving or resizing components, it can be difficult to line things up perfectly. You can can enable the Snap to Grid setting by using the toolbar or the menus. Once enabled, resizing and moving components will snap to specific grid points.
NOTE: Praisenter does not show the grid lines at this time.
Layers#
As you add more components to your slide, they may overlap each other and being able to control what’s on top is critical to getting the slide exactly the way you want it. Praisenter has 4 commands to help with moving components up or down in the layers.
Move up- This will move a component up one layer.Move down- This will move a component down one layer.Move front- This will move the component to the top layer.Move back- This will move the component to the bottom layer.
These options are availabe in the Edit and context menus and in the toolbar.
Copy / cut / paste #
Like with bibles, songs, and everything else, Praisenter supports copy, cut, and paste with slide components. Just select a component by clicking on it, then copy/cut and paste. You can paste into the same slide or into other slides.
Deleting components#
Deleting component is easy - select the component to remove and use the Delete key. You can also use the options in the Edit and context menus to delete the component.